Our serie of the free photoshop tutorials continue and today we showcase this awesome easy tutorial to learn how to make an image mosaic effect with photoshop. The mosaic effect can be used on diffrent artwork and illustrations to give a nice and attractive look.
Learn how to make this effect by following this free photoshop tutorial by best-photoshop-tutorials. Before you start reading this tutorial, Download The PSD Source Files : MOSAIC PHOTO EFFECT PSD
1. Of course first you have to download the psd file. Then, open it in Photoshop.
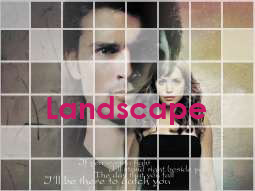
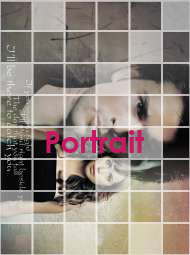
2. By default, the template is set to landscape. If you prefer to work with portrait orientation, you can rotate the canvas. Go to Image > Rotate Canvas > 90 degrees CW.
3. The canvas size is 1024 x 768 pixels. You can always re-size or crop it later once you’re done arranging your pictures inside the squares. Each square/box is approximately 128 x 128 pixels and we have 8 x 6 boxes.
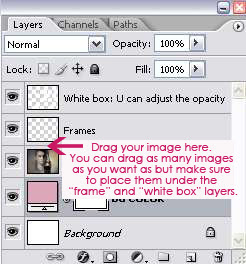
4. Below is your layer palette. Now, what you have to do now is open all the images you want to work with in Photoshop. You can use one big image to fill in the template or you can use several small pictures.

5. Drag your image one by one on top of the template’s sample image layer. Re-size or crop them if necessary. Make sure the ‘Frame’ and ‘White Box’ layers always on top of your dragged images (otherwise you cannot see the boxes).
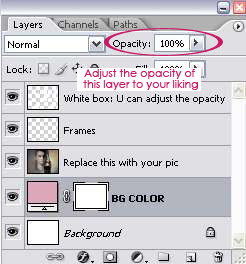
6. One you finished arranging your pictures, you can adjust the opacity of the white boxes.
7. Now, merge all the layers (CTRL+SHIFT+E). Then, you can re-size the image. Or crop some of the unused squares. (I’m gonna assume everybody knows how to resize or crop image in Photoshop. Otherwise, leave a comment here, and I’ll be happy to help).
Republished by Imagincreation