Gimp Tutorial : Learn How to Create Bokeh Effect With Gimp. While i was looking to how to create a Bokeh Effect, i found a nice tutorial and i would like to share it with you on imagincreation.com. This tutorial was converted from Photoshop and i hope that will help you to create a nice Bokeh effect.
Please if you like this post share it with your friends and follow us on Imagincreation Google+, Imagincreation Facebook Page and Imagincreation on Twitter to get all the latest updates.
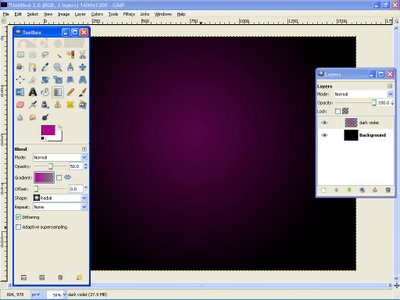
Before we start, Create new document. I’ll used 1600 x 1200. Fill the background with black color.

Then create new layer.I renamed it as dark violet.

Choose a dark purple. I’m using #b10993.

Select gradient tool, Radial for the shape and low the opacity to 50. Click the image for larger view.

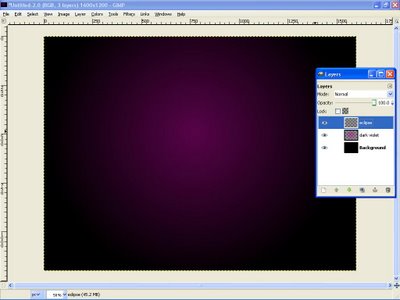
Now create a new layer and i renamed it as eclipse.
Select the brush tool. and I’ll using my Eclipse brush. Use white color for the brush.Then Select brush dynamic options and for the values use the image below.
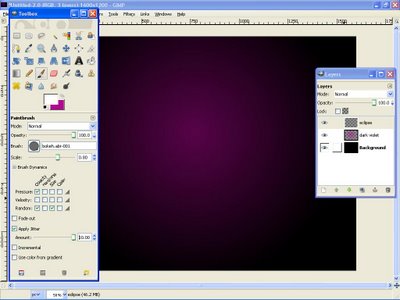
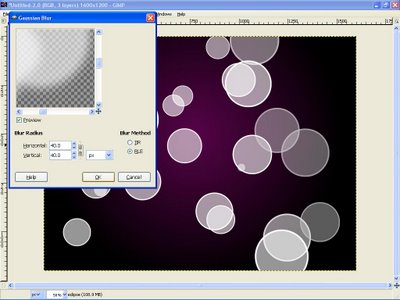
Now we’ll paint some ellipses at the eclipse layer.
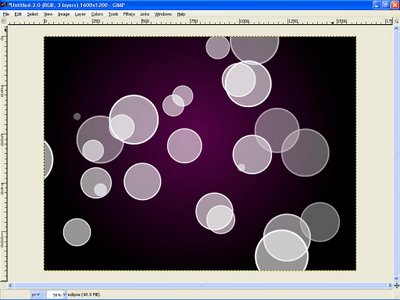
Go to Filters>Blur>Gaussian Blur. For this first layer use 40 pixels for the Horizontal and 40 pixels for the Vertical.

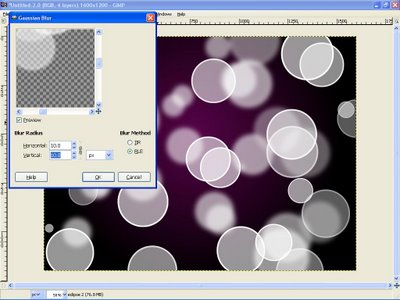
Create another layer ( I named it eclipse 2 ) and start painting again.

Go to Filters>Blur>Gaussian Blur. For this second layer use 10 pixels for the Horizontal and 10 pixels for the Vertical.

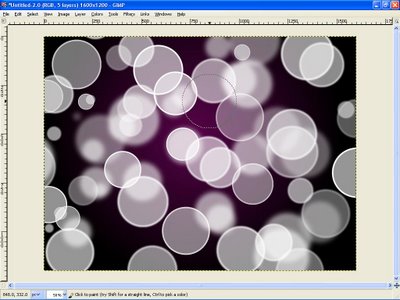
Create another layer and repeat the previous step, this time however i’ll Apply the Gaussian Blur to this layer as well, but use only 1 pixel for the Radius.
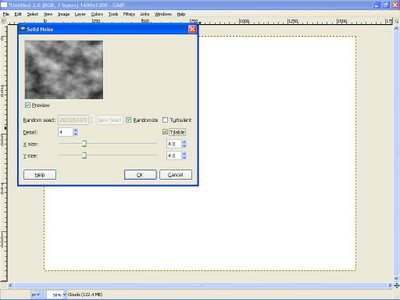
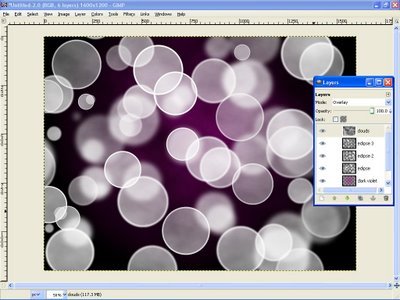
And then create a new layer and i named it as Clouds.Fill it with white. Go to Render>Clouds>Different Clouds.and apply to the layer. I use 4 for the Detail, Randomize and Tileable.After that changes the layer mod to Overlay.
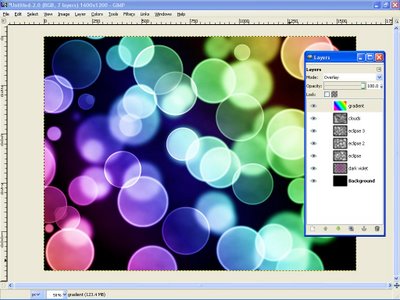
Create another layer and named it gradient.

Using the gardient tools select Full Saturation Spectrum Gradient , 100 for the opacity and Linear for the shape.

Apply the gradient to the layer. Change the layer mod to Overlay.U’ll see a nice effect there.
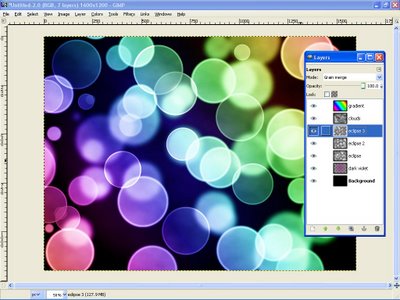
Go to layer eclipse 3 and change the layer mod to Grain merge.
Last,go to layer 2 and change the layer mod to Hard Light.
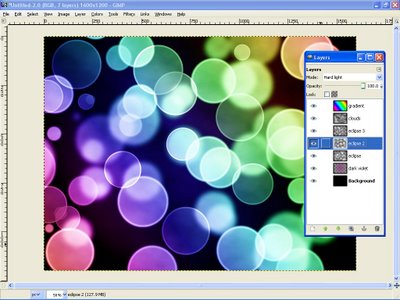
Finish!
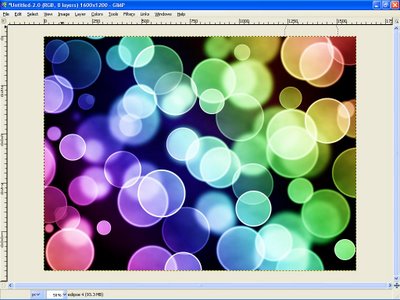
Result

Tutorial By : PA Blog
Republished by Imagincreation